Make your own butterfly envelope
-
Audience
Primary school -
Learning stage
Stage 2, Stage 3 -
Learning area
Science -
Type
Teaching resources
On this page...
Butterflies and moths are a group of insects known as lepidopterans, which means 'scaly wings'. It is these overlapping scales that give them their spectacular colours and patterns. An entomologist is a scientist who studies butterflies and moths.
When an entomologist collects butterflies in the field, they might place them in a butterfly envelope folded from a rectangle of special paper. On the outside of the envelope they write the following information: the name of the butterfly (if they know it), where it was found, when it was found, the habitat in which it was found (e.g. the plant it was sitting on), and the name of the collector. In this activity, students make their own butterfly envelope using cardboard cut-outs of species of Australian butterfly.
- The name of a scientist who studies insects is an entomologist!
- When collecting a butterfly, a collector should always record the date, location, habitat type, and butterfly species if known.
- Butterflies taste with their feet!
- Butterflies live for between one week and a year.
Materials
For this activity, you will need:
- a butterfly envelope sheet (see below)
- a piece of baking paper (16 cm X 20 cm)
- a lead pencil
- scissors
- colour pencils
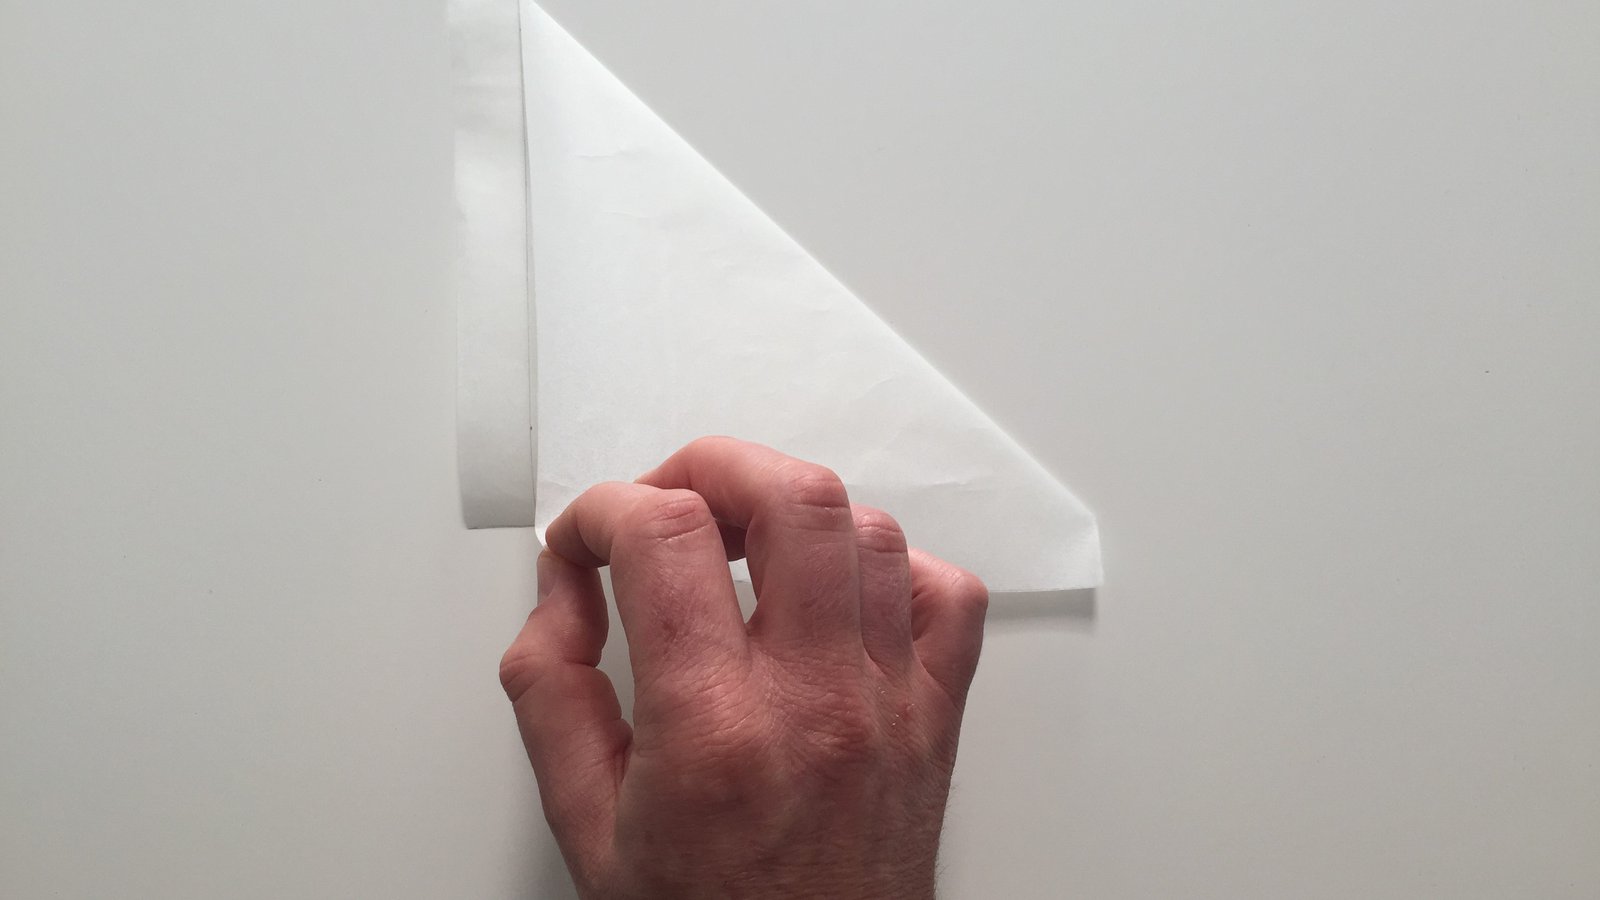
Follow the steps written under the slideshow to help you create your butterfly envelope.

© Mathew Sloane

© Mathew Sloane
© Mathew Sloane

© Mathew Sloane

© Mathew Sloane

© Mathew Sloane

© Mathew Sloane


